Importing or exporting MySQL databases (database management) will likely be necessary at some point if you work with them. Importing a database enables you to transfer data from one database to another, whereas exporting enables you to create backups or share your data. While using the command line to import and export databases in MySQL is a quick and powerful method, some users may prefer to use a graphical user interface (GUI) tool, such as MySQL Workbench or dbForge Studio for MySQL, to simplify the process.
In this blog post, we will discuss four key considerations when working with MySQL databases: why import and export are important, how to export a database using both the command line and graphical user interface, how to import a database using both the command line and graphical user interface, and how to choose the right method for your specific needs. By the end of this post, you will be able to confidently work with MySQL databases using both command line and graphical user interface tools.
Export MySQL Databases using Command line
Using the command line to export MySQL databases is a quick and effective way to create backups, migrate data to a new database, or share data with others. Here are the command line steps for exporting a MySQL database:
- On your computer, open a command prompt or terminal window.
- Enter the directory in which you wish to save the exported file. To save the file to your backups directory, for example, type the following command and press Enter:
- cd ~/backups
- To export the database, use the mysqldump command. The command’s basic syntax is as follows:
mysqldump -u [username] -p [database_name] > [filename].sql
- Replace [username] with your MySQL username, [database name] with the name of the database you wish to export, and [filename] with the desired filename for the exported database. For instance, to export a database named “mydatabase” and save it as “mydatabase backup.sql” on your desktop, the following command would be used:
mysqldump -u root -p mydatabase > ~./mydatabase_backup.sql
- Enter your MySQL password and press Enter when prompted. Depending on the size of your database, the export process may take some time.
- Verify that the export was successful by examining the saved file’s contents. The file can be opened with a text editor.
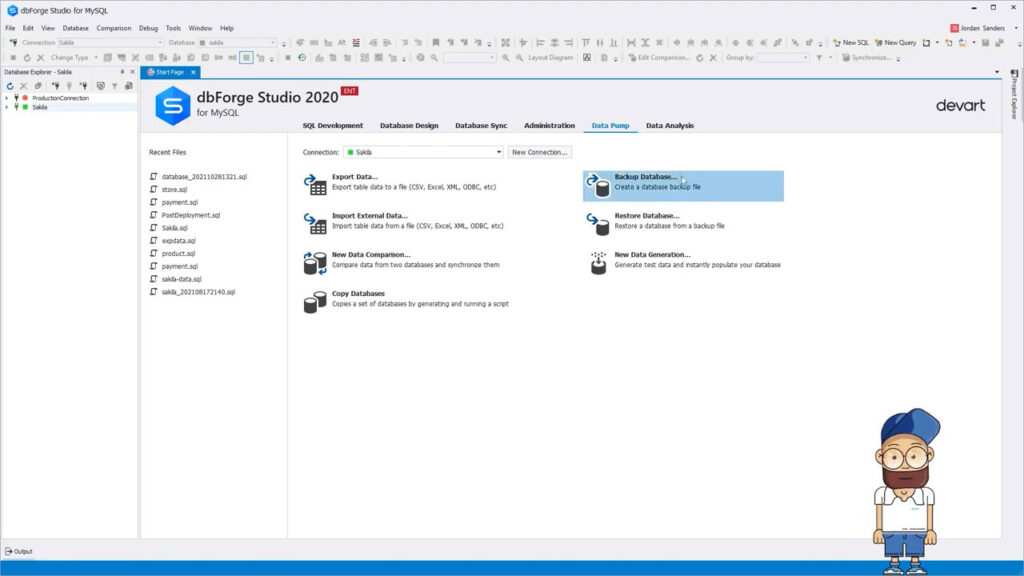
Export MySQL Databases using dbForge Studio for MySQL
If you’re searching for a simple and trouble-free way to migrate a MySQL database, you can try to export data with the Devart IDE, dbForge Studio for MySQL:
1. Choose Backup Database from Database > Backup and Restore.
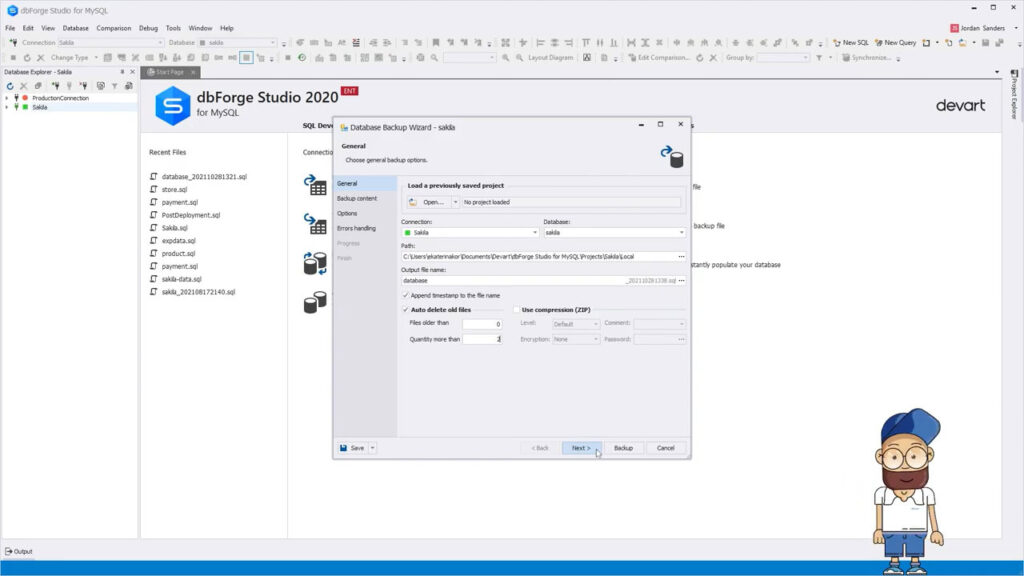
2. Configure the options in the Database Backup Wizard window and click Next.
3. Select database objects to back up and click Next.
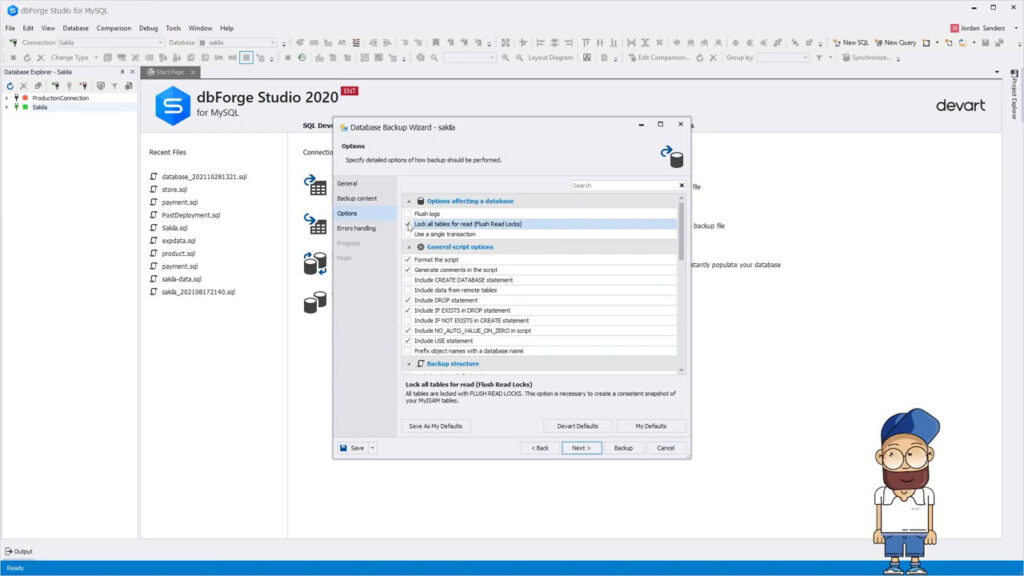
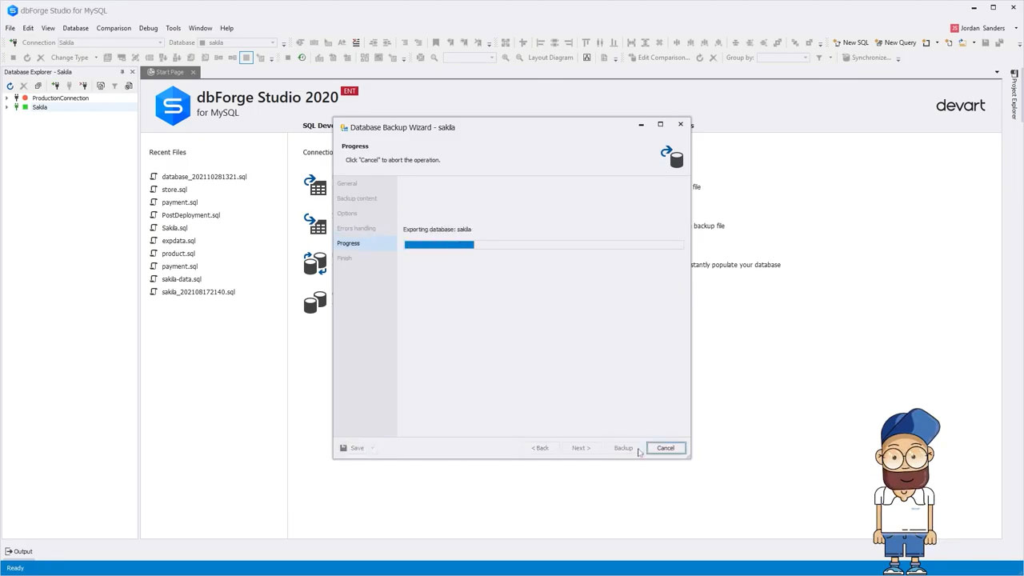
4. Choose the backup settings. By clicking Backup, a MySQL database can be instantly exported to a SQL file. Click Next to set the log settings and error handling parameters.
5.Choose Open script if you want the SQL file to open after the Wizard closes.
6. Finally, click Finish.
It’s over! Using dbForge Studio for MySQL, you have successfully exported a MySQL database. If you encounter errors during the export process, verify that you have the proper permissions and that the database is operating correctly.
Import MySQL Databases using Command line
Importing a MySQL database through the command line is a quick and effective way to move data from one database to another or restore a database from a backup. Following are the steps for importing a MySQL database via the command line:
- On your computer, open a command prompt or terminal window.
- Navigate to the directory containing the SQL file containing the database you wish to import. If the file is located in backups directory, for example, type the following command and press Enter:
cd ~/backups
- To import the database, use the mysql command. The command’s basic syntax is as follows:
mysql -u [username] -p [database_name] < [filename].sql
- Replace [username] with your MySQL username, [database name] with the name of the database into which you wish to import the data, and [filename] with the name of the SQL file to import. For instance, to import a database named “mydatabase” from a file named “mydatabase.sql”, you would use the following command: import-database mydatabase.sql
mysql -u root -p mydatabase < ~/backups/mydatabase.sql
- Enter your MySQL password and press Enter when prompted. Depending on the size of the SQL file, the import process could take time.
- Verify that the import was successful by inspecting the database into which the data was imported. To view the database and its contents, you can use a GUI tool such as dbForge Studio for MySQL.
Well, that’s all there is to it! Congratulations, you have imported a MySQL database from the command line. If you are receiving import problems, make sure the database is healthy and that you have the necessary permissions.
Import MySQL Databases using dbForge Studio for MySQL
dbForge Studio for MySQL is a powerful MySQL database management and administration tool that makes it simple to import databases. The following are the steps required to import a MySQL database using dbForge Studio for MySQL:
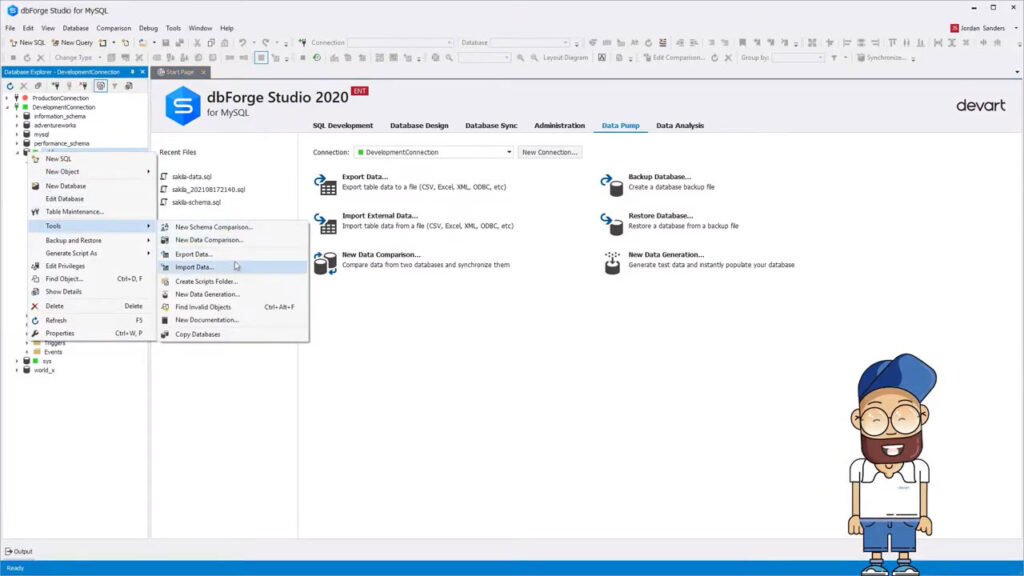
1. Go to Database > Import Data to begin.
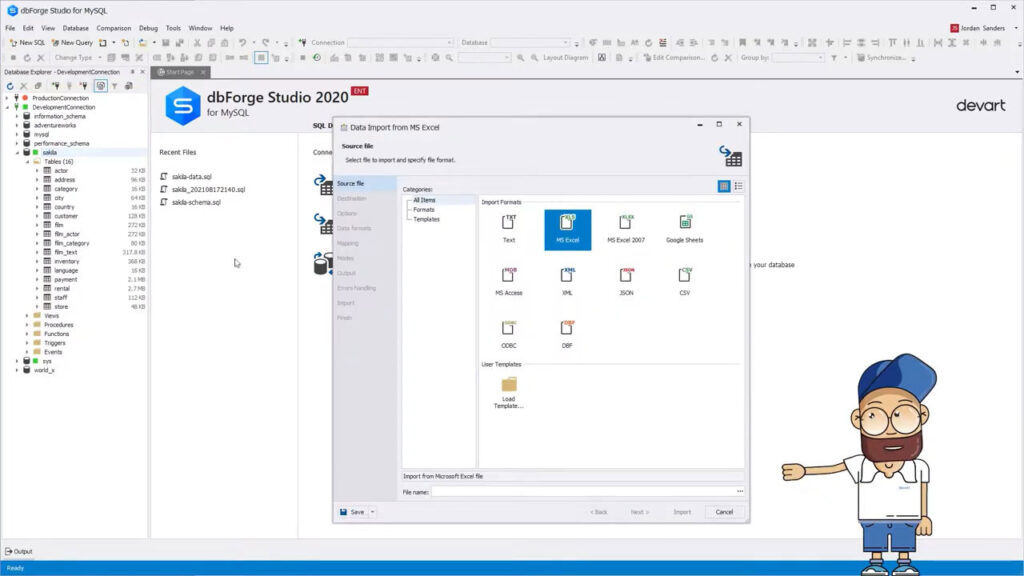
2. Choose the necessary import format, enter the database file’s location, and then click Next.
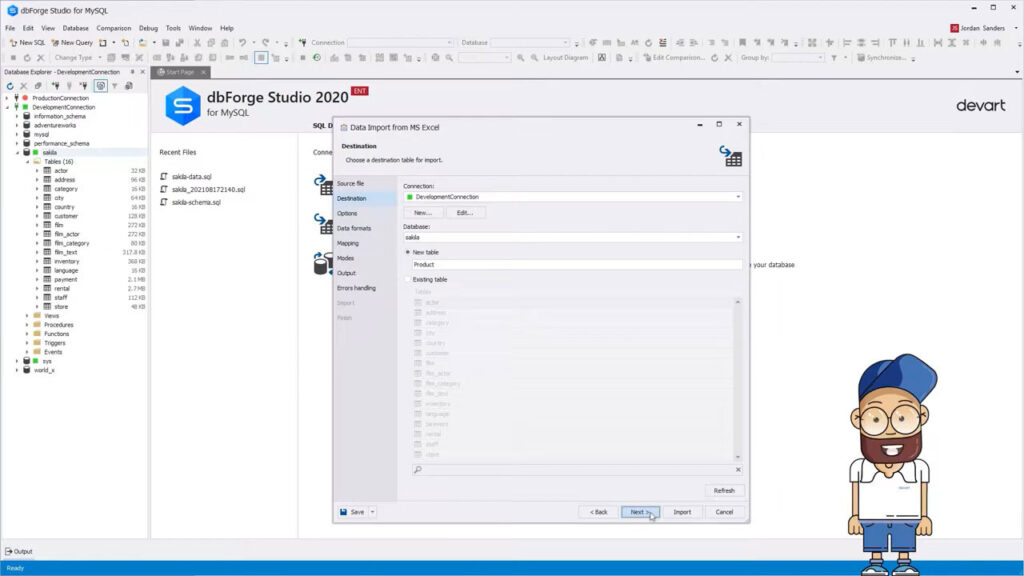
3. Select where you wish to import the file. Set the Connection and Database options and choose whether to import the data as a new table or to an existing one.

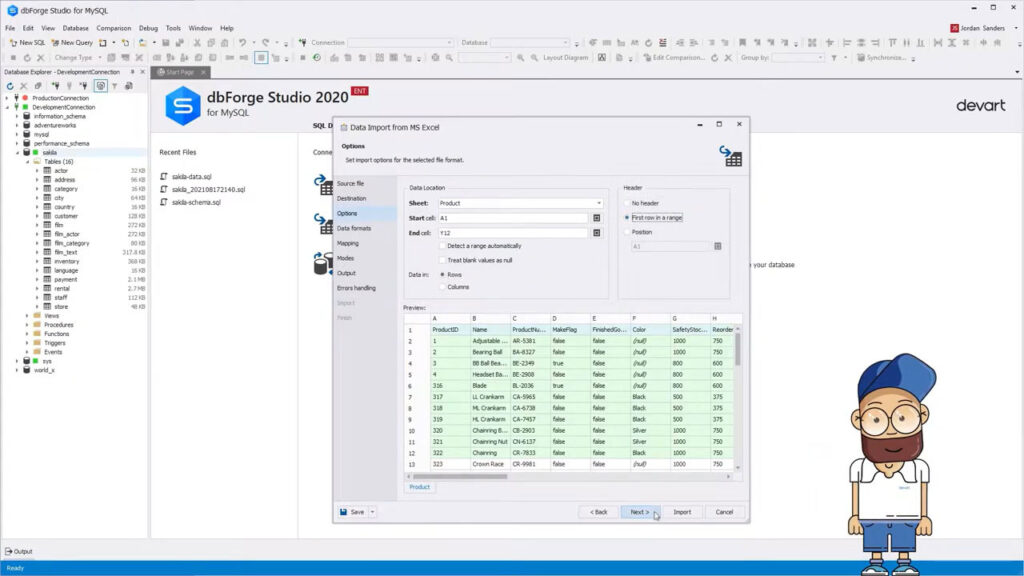
4. Click Next and set the import options for the selected file format.
5. Click Next to configure further import options. To import immediately, click Import. Moreover, the import settings can be saved as a template file. Simply click the Save button on any Wizard page.
There you have it! Congratulations! You have successfully imported a MySQL database using dbForge Studio for MySQL.
Comparing Command Line and GUI Tool for exporting and importing MySQL databases
There are two primary techniques available for exporting and importing MySQL databases: the command line and graphical user interface (GUI) tools. Each method has its own advantages and disadvantages, and selecting the most appropriate one for your needs will help you optimize your workflow and avoid frequent mistakes. This is a comparison of command line and graphical user interface export and import tools for MySQL databases:
Command Line
Benefits:
- Faster performance and more control over the export/import process
- Can be automated using scripts or batch files for repeatable tasks
- Can be used on a remote server without the need for a GUI
Drawbacks:
GUI Tool
Benefits:
- Easier to use and more intuitive interface
- Offers visual representation of the database structure and data
- Supports drag-and-drop for importing and exporting data
Drawbacks:
- Slower performance and less control over the export/import process
- Can be resource-intensive and may not work well on low-spec machines
- Requires installation and configuration of the GUI tool
When choosing between command line and GUI tool for exporting and importing MySQL databases, consider the following factors:
- Size and complexity of the database
- Frequency of the task
- Your familiarity with the tool
- The need for customization and automation
- The resources available on your computer